A Brief Note on Serial Port of Raspberry Pi Pico
After Blinking an LED using Raspberry Pi Pico, the next logical step is to use the serial port and print some text like Hello World, for example. The important point here is not the text that is printed through the serial port but the process involved for Raspberry Pi Pico to transfer data to the serial port. The beautiful thing about the Raspberry Pi Pico Serial C SDK is that it defines the ‘stdio’ style functions like ‘printf’ for us to use. Before proceeding with programming Raspberry Pi Pico Serial Port, we have to understand a little bit about Raspberry Pi Pico’s Serial input and output. The serial input and output of Raspberry Pi Pico can be either UART or USB CDC. Raspberry Pi Pico has two UART peripherals: UART0 and UART1. When you use the ‘printf’ function to print data, the default serial port is UART and in that UART0 peripheral is used. NOTE: Pico SDK has a board configuration file called ‘pico.h’, which sets some of the important pins as default for different operations like UART, on-board LED, I2C, SPI etc. According to this board configuration file, UART0 is the default UART Peripheral and the default UART0_TX Pin is GPIO 0 (GP0) and UART0_RX Pin is GPIO 1 (GP1). Take a look at the pinout of Raspberry Pi Pico in the ‘Getting Started with Raspberry Pi Pico’ tutorial for all the possible GPIO Pins that can be configured as UART0 or UART1 pins.
Exploring Hello World Example
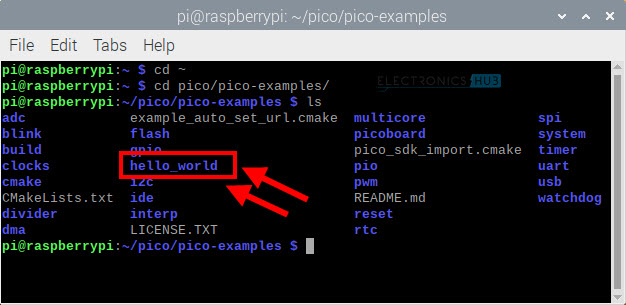
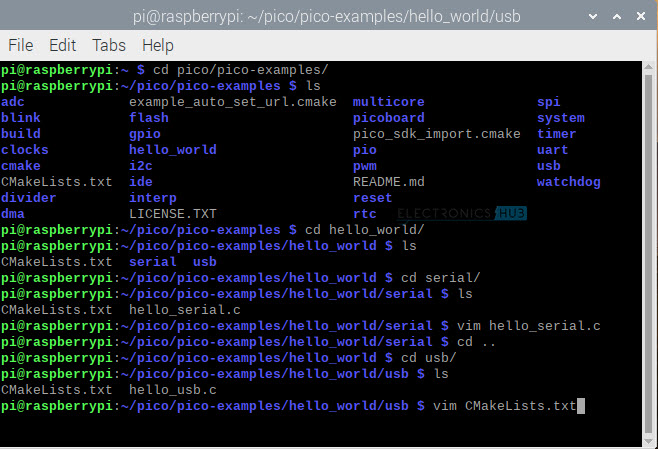
With the brief introduction to Raspberry Pi Pico’s Serial Programming, let us no proceed to explore the examples for serial output. Before proceeding further, if you haven’t gone through the initial setup for Programming Raspberry Pi Pico with C using C SDK, then I strongly suggest you to refer to the previous tutorial called ‘Programming Raspberry Pi Pico with C’. In that tutorial, I discussed all the necessary steps for setting up your Raspberry Pi (this is Raspberry Pi Computer not the Pico) like downloading the tools, SDK, examples and programming Pico with a Blinky example. In the ‘pico-examples’ directory (which is in /home/pi/pico), you can see the list of all the examples organized into several directories. In the previous tutorial, we explored the ‘blink’ directory (and the corresponding source files). If you go through the list of directories, there is a directory called ‘hello_world’. This directory contains the example projects for serial port programming.
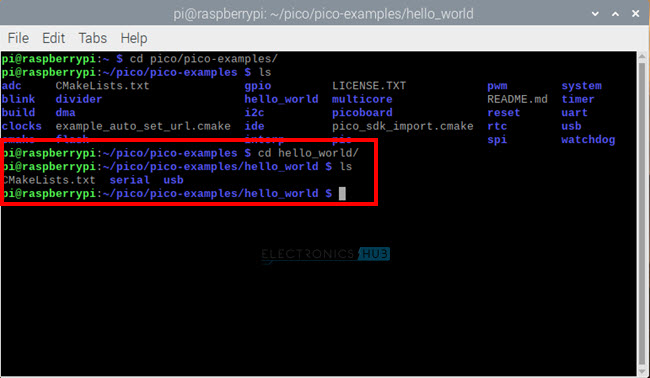
Change to ‘hello_world’ directory and list out its contents. You can see it contains two directories called ‘serial’ and ‘usb’. If you want serial communication through UART Port, then use the project in the ‘serial’ directory. If you want to use the USB Serial option of Raspberry Pi Pico, then go to ‘usb’ directory.
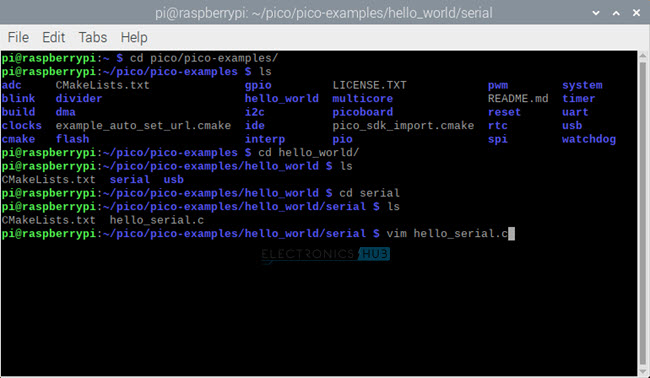
First, we will see the project in the ‘serial’ directory, which when executed, prints the text ‘Hello, world!’ through UART of Raspberry Pi Pico. Change to ‘serial’ directory and list out the contents. You can see two files in this directory called ‘CMakeLists.txt’ and ‘hello_serial.c’.
To view the source code for ‘hello_serial.c’, you can use vim with the help of the following command. For your reference, I copied the code below.
NOTE: To exit from vim, type ‘:q’. The code is very simple. After some hardware initialization (for UART or USB), the program prints ‘Hello, world!’ text continuously with a delay of 1000 ms. If you notice the code, there is nothing that specifies whether to use UART or USB. The reason for this it is configured in CMake. Using CMake directives, we can set the output of serial to either UART or USB CDC (or both). In fact, if you open the ‘usb’ directory in the ‘hello_world’ directory, you can see two files: ‘CMakeLists.txt’ and ‘hello_usb.c’. The contents of ‘hello_usb.c’ are exactly the same as that of ‘hello_serial.c’. The difference lies in the corresponding ‘CMakeLists.txt’ file in each directory. Without even modifying the source code, you can essentially enable UART or USB as serial output just by configuring the ‘CMakeLists.txt’ file.
Exploring CMakeLists File
In the ‘serial’ directory of ‘hello_world’ directory, open the ‘CMakeLists.txt’ file using vim. I copied the contents of ‘CMakeLists.txt’ for your reference.
Since the default configuration in the SDK is to use the UART0 as the serial port, there is nothing significant in this ‘CMakeLists.txt’ file. If you want to see the actual CMake directive which enables and/or disables UART and USB, then we have to take a look at the ‘CMakeLists.txt’ file in the ‘usb’ directory of ‘hello_world’ directory. Assuming you are in ‘serial’ directory of ‘hello_world’ directory, use the following commands to go to ‘usb’ directory and open the ‘CMakeLists.txt’ file in the ‘usb’ directory.
I copied the contents of ‘CMakeLists.txt’ in ‘usb’ directory for your reference.
There are two lines in this file which help in setting the output of serial to UART or USB. They are: These lines will enable printf output via USB and disable printf output via UART. NOTE: In the future projects, if you want to enable ‘printf’ output via USB, then you have to include these lines in the corresponding ‘CMakeLists.txt’ file of that project.
Building Hello World Example
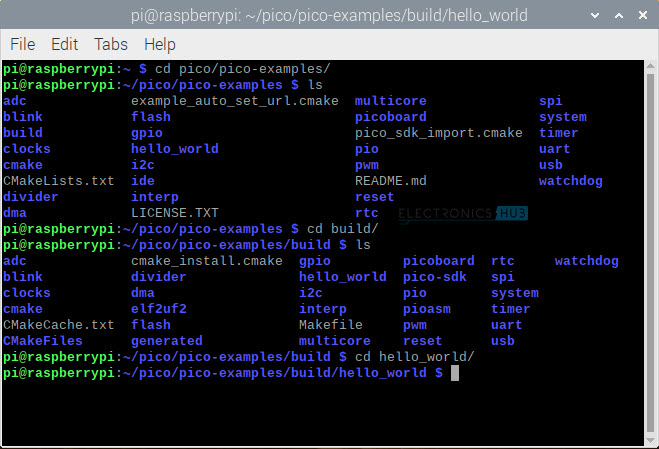
Now that we have seen how to configure the CMake to set the output as either UART or USB, let us proceed with building the projects in the ‘hello_world’ directory. If you remember the ‘blink’ project, the build process is same. Go to ‘build’ directory in ‘pico-examples’ directory and in that change to ‘hello_world’ directory.
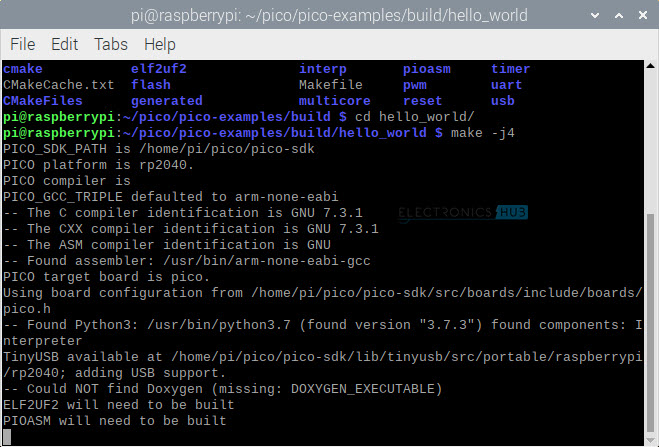
Start the build process using make command. Optionally, you can also specify the number of parallel jobs using -j option.
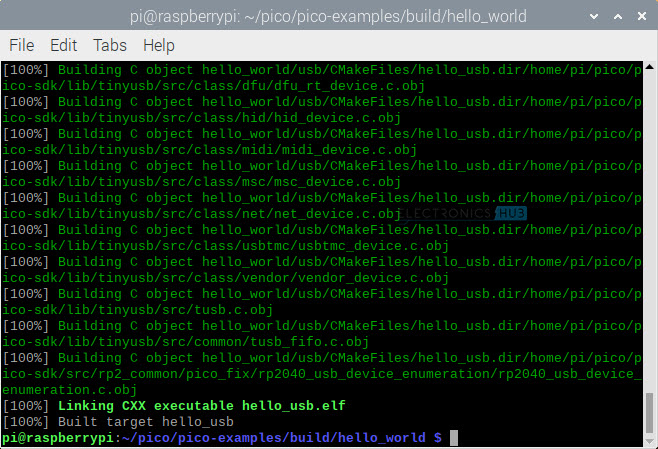
It will take few seconds to finish the build. This will build both the examples in the ‘hello_world’ directory ‘serial’ and ‘usb’.
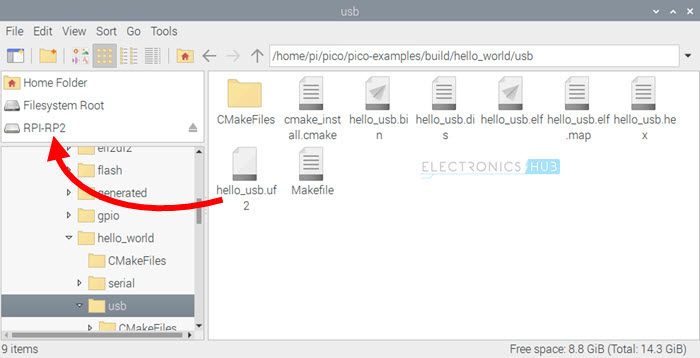
To view the list of generated files, change to individual project’s build directory. For example, let us see the files generated for ‘usb’ example.
You can see the following four target files for ‘usb’ example project:
hello_usb.bin hello_usb.elf hello_usb.hex hello_usb.uf2
Similarly, the ‘serial’ project also consists of four target files in the ‘/pico/pico-examples/build/hello_world/serial’ directory.
hello_serial.bin hello_serial.elf hello_serial.hex hello_serial.uf2
Flashing Raspberry Pi Pico
We will be using USB example as it is more convenient to view the serial output. I already discussed how to upload the program to Raspberry Pi Pico in the previous tutorials. But as a reminder, I will briefly go through the steps once again. Hold the ‘BOOTSEL’ button while plugging in the Raspberry Pi Pico to the host computer (Raspberry Pi in my case). This will make the Raspberry Pi Pico to appear as a removable storage device called RPI-RP2. I also explained a simple trick to add a push button to reset Raspberry Pi Pico, which eliminates the need for unplugging and re-plugging every time you want upload a program. Browse to the Hello World USB project build directory (home/pi/pico/pico-examples/builds/hello_world/usb) and drag-and-drop the ‘hello_usb.uf2’ file into the RPI-RP2 device. Raspberry Pi Pico reboots and starts executing the code.
How to See USB Output?
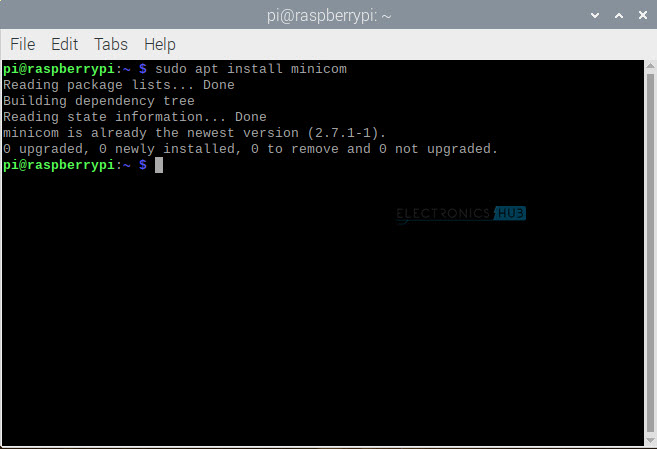
We know that after flashing Raspberry Pi Pico, it started running the program. But how to view the output of the USB? We have to use a special tool called ‘Minicom’. To install ‘minicom’, use the following command in the terminal.
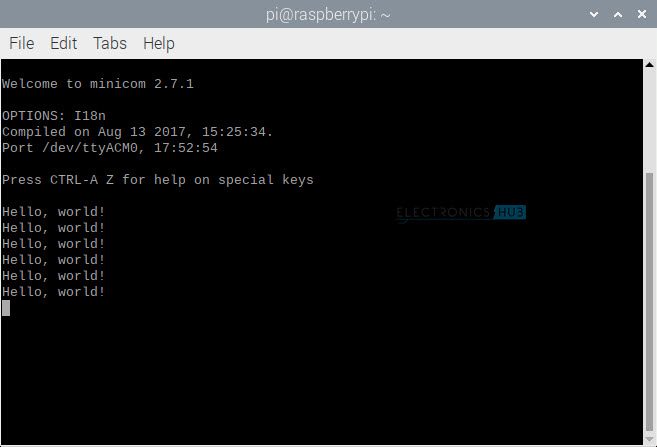
My computer (Raspberry Pi) already has minicom installed. To open the serial port, type the following command in the terminal: As soon as you hit enter, minicom opens the serial port with baud rate of 115200 and you can see ‘Hello, world!’ being continuously printed.
To exit minicom, press Ctrl+a and then x. NOTE: I haven’t discussed how to view the output through UART of Raspberry Pi Pico as using USB is very easy. But if you are interested in that as well, then I will update this tutorial with a new section on serial output on Raspberry Pi Pico’s UART.
Conclusion
A complete tutorial on Raspberry Pi Pico Serial Port Programming in explained here. You learned how to configure Raspberry Pi Pico to generate a serial output, how to use CMake to direct the serial output to either UART or USB, install necessary tools and finally view the printf output printed through USB. Comment * Name * Email * Website
Δ
![]()
![]()
![]()

![]()
![]()

